- Have any questions?
- +86 15953537010
- admin@wepower-electronic.com
1)Preparation Before Installing a Magnetic Level Indicator
Tools and Equipment Required for Installation
Installing a magnetic level indicator needs specific tools to make sure it’s done right and safely. You’ll need wrenches, screwdrivers, a calibration magnet, and a level gauge kit. Also, you might need flange bolts and gaskets to hold things together tightly. The calibration magnet is super important. It helps set the flappers to their starting spots during setup.
You may also need a non-magnetic heating pipe if the liquid you’re measuring requires it. This pipe should be made of stuff like copper so it doesn’t mess with the magnetic field. The UHZ Series Magnetic Float Level Meter often needs this kind of setup for hot or harsh liquids.
Safety Precautions to Follow During Installation
Safety comes first when setting up a magnetic level gauge. Start by clearing the work area of anything magnetic, like metal objects. These can mess up how the indicator works. Always wear safety gear, like gloves and goggles, to stay safe while handling parts.
Make sure the tank or vessel is empty and has no pressure before you start. Wepower Electronic says the liquid should flow into the main pipe gently during use. This prevents sudden jumps that could give wrong readings. If your system has remote signal features, check that all electrical parts are grounded properly.
Checking the Components of the Magnetic Level Indicator
Before you begin, look over all parts of the magnetic level indicator to spot any damage. Make sure you have everything, like floats, flappers, mounting brackets, and connection flanges. Check that the float moves smoothly without getting stuck. It should line up correctly in its spot.
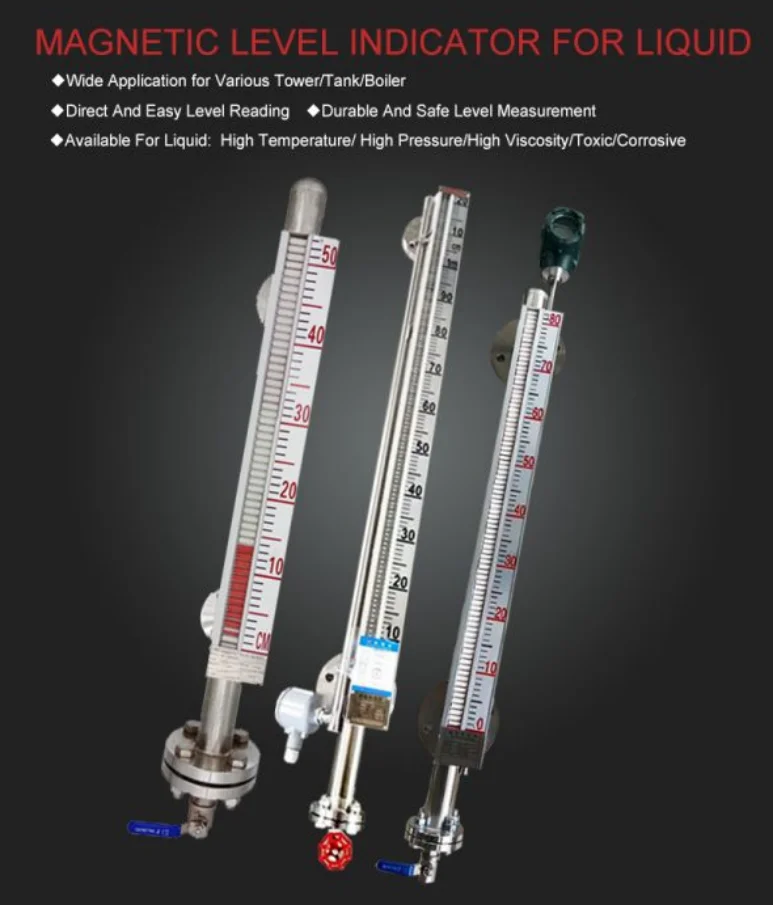
The UHZ Magnetic Float Type Level Gauge has a strong design. Its display part is fully separated from the liquid being measured. This makes it super reliable and safe, even in tough conditions like high pressure or harmful liquids.
2)Step-by-Step Guide to Installing a Magnetic Level Indicator
Positioning and Mounting the Magnetic Level Gauge
Getting the position right is key for accurate readings. The magnetic level gauge must be set up straight up and down, either on the side or top of the tank, depending on its type. Use a spirit level to make sure it’s perfectly vertical.
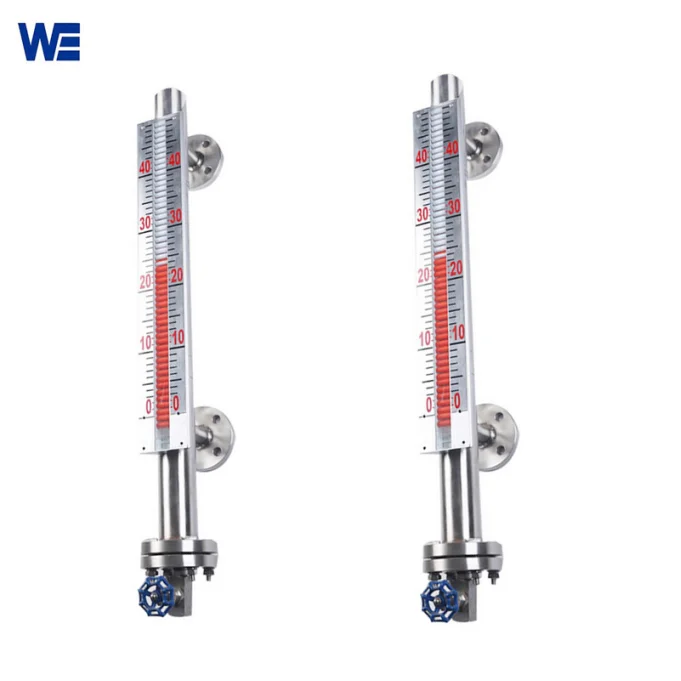
For side-mounted models , check that the factory DN25 stainless steel flanges match the tank’s bolt holes. Tighten all bolts evenly to hold the gauge in place. Be careful not to tighten too much, as this could break parts.
Connecting the Magnetic Flapper Level Gauge to the Tank or Vessel
Hook up the magnetic flapper level gauge using flange or threaded connections, based on your model’s specs. Use gaskets between flanges to stop leaks and keep things tight.
The UHZ series offers different connection types, like stainless steel 304/316L flanges or PVC ones, for various liquids. If you’re using heating pipes, pick non-magnetic materials like copper tubes. This keeps readings accurate by avoiding magnetic interference.
Ensuring Proper Alignment of the Magnetic Level Indicator
After mounting and connecting the magnetic tank level gauge, do an alignment check with a calibration magnet. Set flappers below the water level to red and those above to white. This makes the liquid level easy to see.
3)Testing and Calibration After Installation
Verifying the Functionality of the Magnetic Level Gauge
Once the magnetic level gauge is set up, you need to check if it works properly. Start by looking at the indicator to make sure the float moves freely in the measuring rod or pipe. This is super important because anything blocking it can cause problems. Use a calibration magnet to set flappers below the liquid to red and above it to white. This shows the liquid level clearly.
Adjusting and Calibrating for Accurate Measurements
Calibration makes sure your magnetic level gauge gives exact readings over time. Start by using a calibration magnet to line up the flappers right. If flappers are off because of quick liquid changes during testing, slide the magnet along the indicator’s surface.
The UHZ Magnetic Float Type Level Gauge is accurate to ±10 mm. This makes it good for industrial jobs needing precise measurements. To keep it accurate, recalibrate now and then using the steps in your product manual.
4)FAQ
Q: How often should I calibrate my magnetic level indicator?
It depends on how you use it, but calibrate once a year or if you notice weird readings.
Q: What materials are used in Wepower Electronic’s magnetic level indicators?
They use stainless steel 304/316L, PVC, PTFE, and titanium. These are tough for different industrial settings.
Q: Can I use a magnetic level gauge for high-pressure applications?
Yes! The UHZ series handles pressures up to 16 MPa, so it’s good for high-pressure tanks.
Q: How do I prevent leaks during installation?
Use good gaskets between flanges. Tighten bolts evenly but not too hard. Check seals often during maintenance.
Q: Where can I get technical support for my magnetic level indicator?
Wepower Electronic offers 24-hour help from their team in Yantai since 2003. Contact Wepower for setup or problem-solving support.
For more details on Wepower Electronic’s customizable magnetic level indicators for various industrial needs, reach out today!


